Writing a Rust and Wasm program
While going through the Rust + wasm book, I wanted to archive some of the knowledge it gave me. Particularly because this is the first time I wrote any Rust + WebAssembly (Wasm) code, let alone used it in the browser!
The book hops from a “Hello, World” program to a Conway’s Game of Life program. I’m just going to talk about the high points since the latter puts a lot of Rust architecture and concepts together. If you’re more interested in the code, you can find the finished repository of my walkthrough on GitHub or you can see a demo of the resulting code.
The What and Why
To start off, you can think of Wasm as this format that tells a computer how to handle a set of instructions for binary code. A huge motivator for Wasm is to be portable so it can be used across different environments, such as the web browser or inside server-side applications. It tries to make no assumptions around where it is being called.
Using it with Rust allows us to have the granularity of control of how things should be communicating together. It also allows us to continue to integrate with our current JS toolset, meaning we can incrementally port things over to it and have it work together with what we already have.
Connecting Rust and JavaScript with wasm_bindgen
One important tool needed is wasm-pack. This tool helps us with writing our Rust code that will need to get converted to Wasm.
Beyond anything we want to use needing to be pub from Rust, we also need
the #[wasm_bindgen] attribute:
// src/lib.rs
#[wasm_bindgen]
pub enum Cell {
    Inactive => 0,
    Active => 1
}
This is the crux of what allows us to communicate what is exported or imported for
us to use either on the Rust side or the JavaScript side. Inside of the src/lib.rs
this Cell enum is exported for us to be able to import in JavaScript 🤯.
The tutorial also showed in the beginning we can also take functions from the JavaScript
side. For instance, we can take the alert function to the Rust side and use it as we
like. In our Rust code, we have to mark the functions we want to use through an extern "C" as well as the wasm_bindgen attribute:
// src/lib.rs
#[wasm_bindgen]
extern "C" {
  fn alert(s: &str);
}

#[wasm_bindgen]
pub fn greet(name: &str) {
  alert(&format!("Hello, {}!", name));
}
We declared that our alert function will only take in strings and we can then
also push this new greet function to our src/index.js through an import.
Creating the Wasm and JavaScript glue
Before you can use any of the Rust code we’ve written, you have to make sure to
create the Wasm and JavaScript glue code. Since we have wasm-pack we can go to
our folder in the terminal and build it with wasm-pack build.
$ wasm-pack build
Compiling wasm-game-of-life v0.1.0 (/<...>/wasm-game-of-life)
  Finished release [optimized] target(s) in 0.99s
[INFO]: ⬇️  Installing wasm-bindgen...
[INFO]: Optimizing wasm binaries with `wasm-opt`...
[INFO]: Optional fields missing from Cargo.toml: 'description', 'repository', and 'license'. These are not necessary, but recommended
[INFO]: ✨   Done in 1.39s
[INFO]: 📦   Your wasm pkg is ready to publish at /<...>/wasm-game-of-life/pkg.
Using exported functions from Wasm to JavaScript
Since we’re using Webpack, it handles the logic needed to make sure our package
is accessible as a module for us. So let’s pull in the Cell enum and use our
greet function:
// This import is connected to a local package through our package.json
import {Cell, greet} from 'wasm-game-of-life';

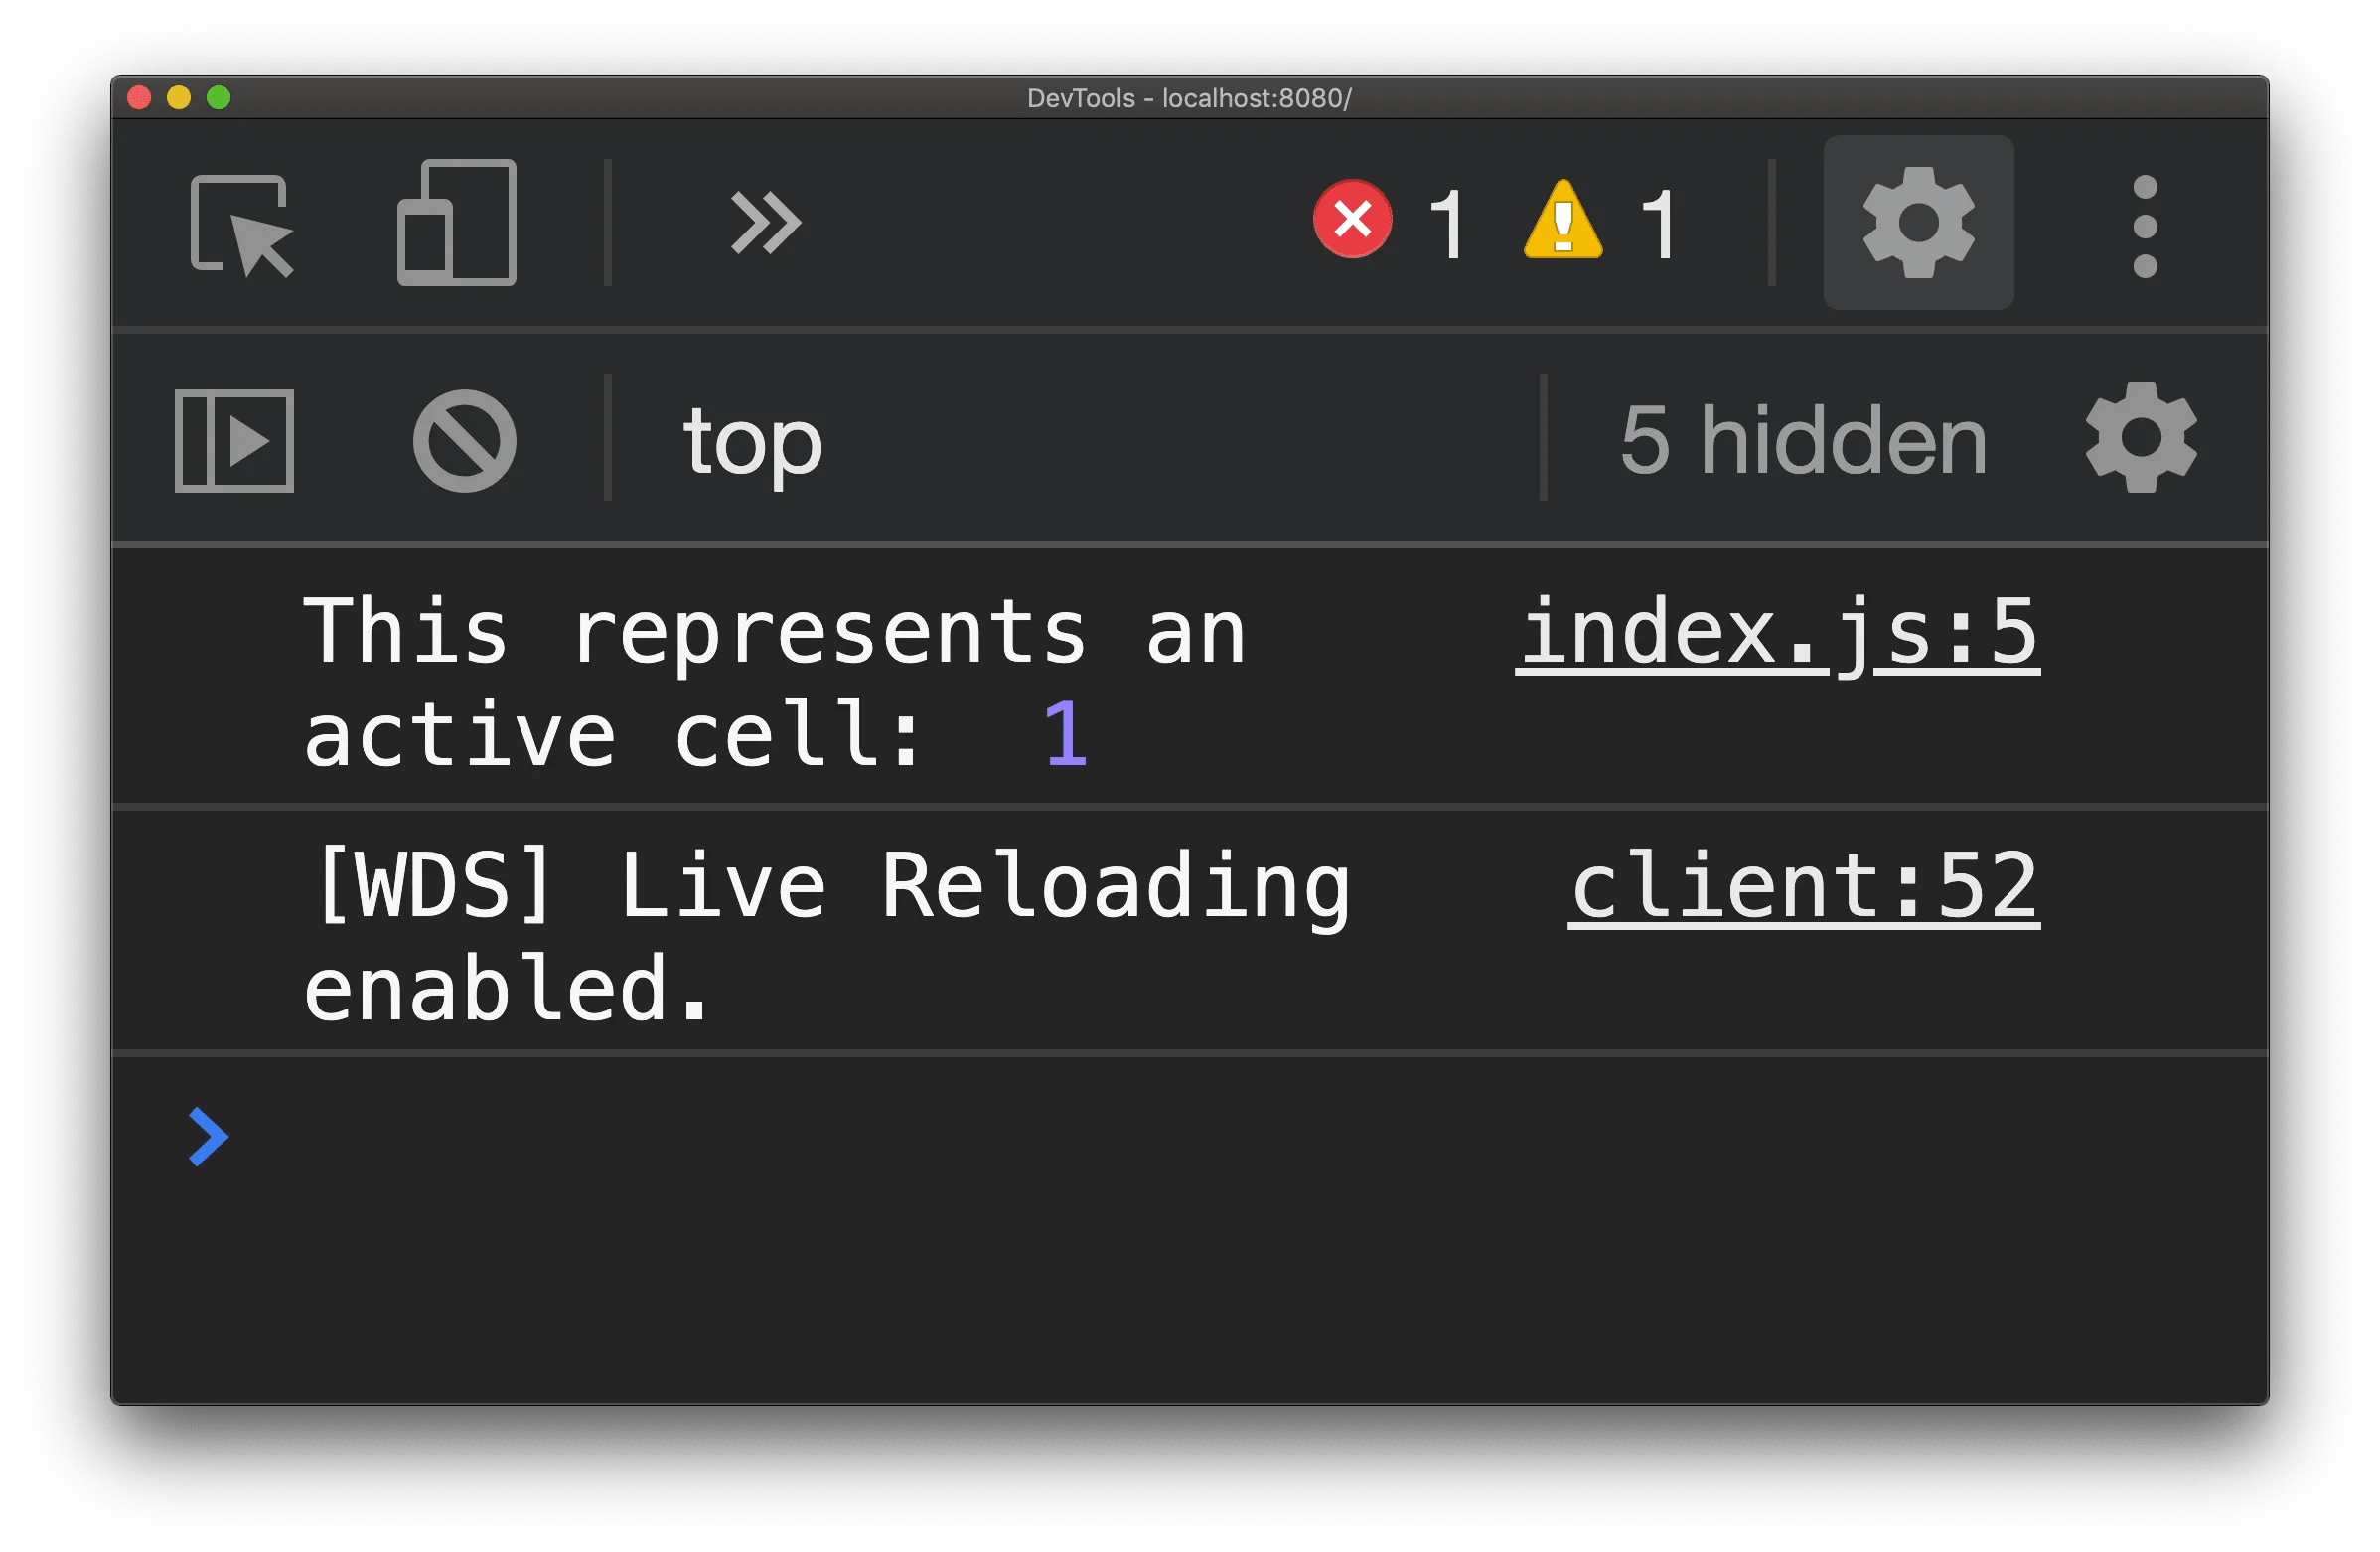
console.log('This represents an active cell: ', Cell.Active);
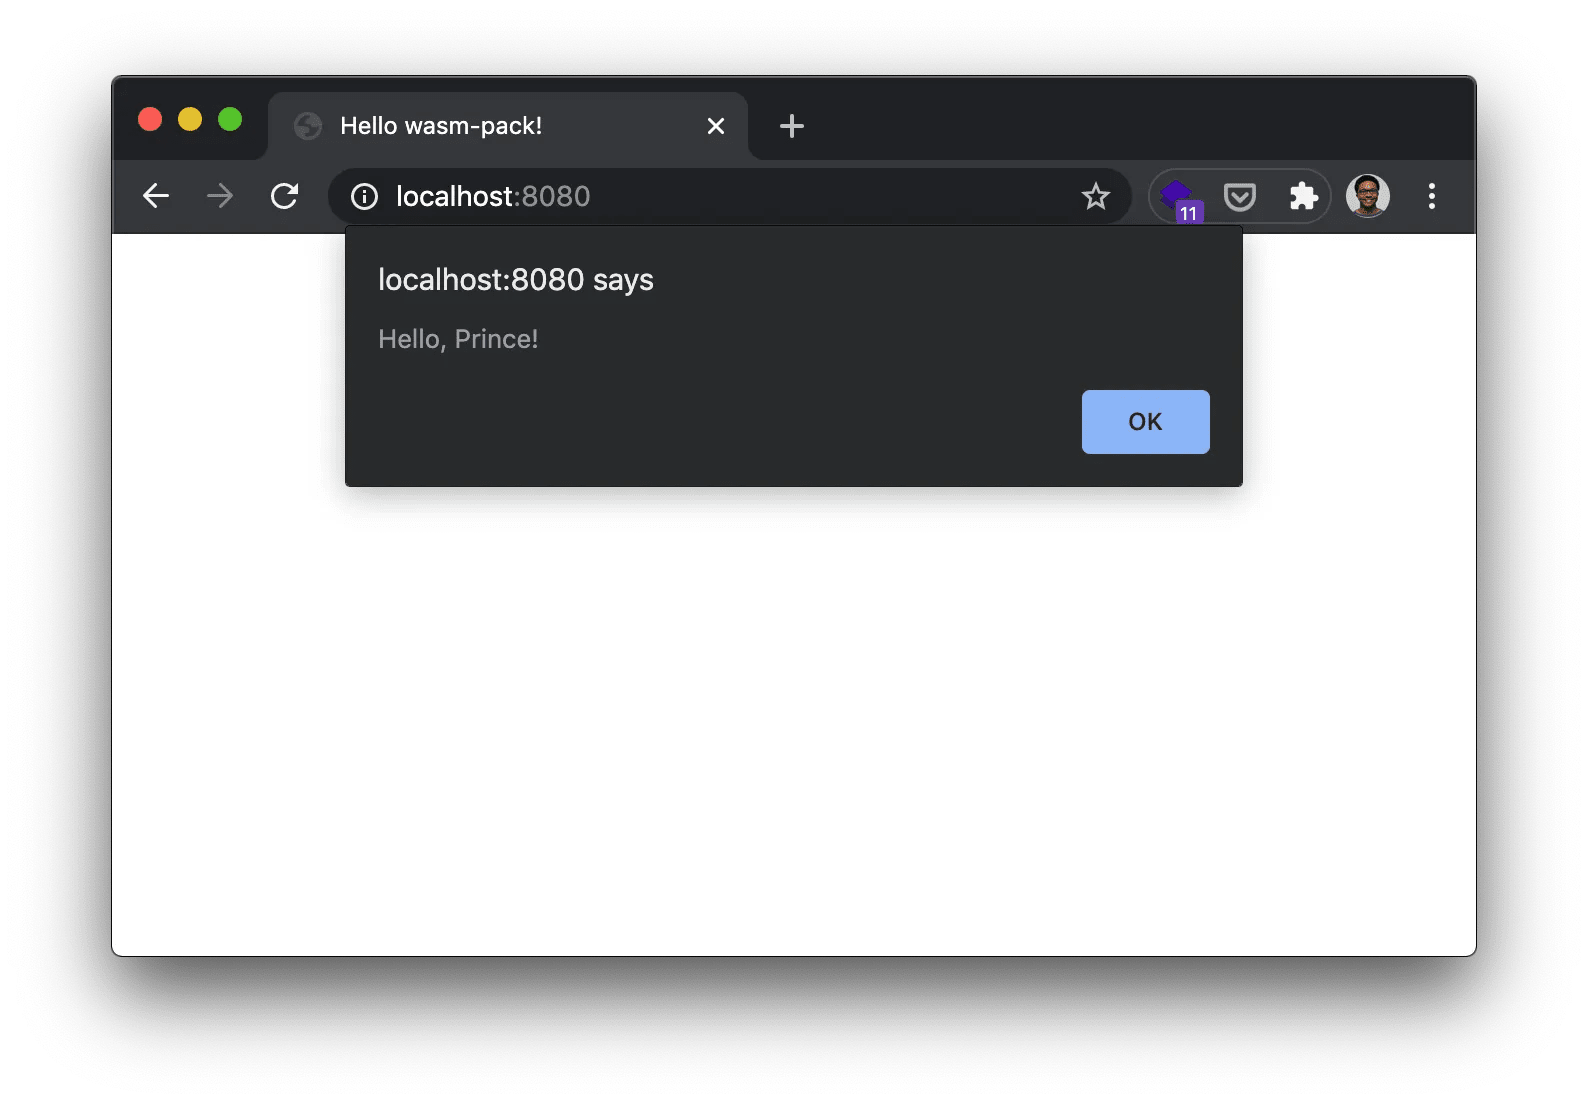
greet("Prince");
And due to that, we see:


Conclusion
From here, I am gonna keep doing more research of where Wasm can be used and how. The promise of being able to have the portability that we want is realy appealing and exciting. I think it also important to say this isn’t truly meant to replace JavaScript as it stands, but it does afford us the ability to really investigate how to offload the performance we want.
